Exploring podcasting, I learned that the right gear is key for quality content. A good pair of studio headphones and a top-notch microphone are big investments. But, with the right knowledge, you can find the perfect podcast accessories for your needs.
Whether you’re starting out or upgrading, this guide will help you. We’ll cover everything from microphones to pop filters. You’ll get the knowledge to make smart choices and sound professional.
Key Takeaways
- Understand the essential gear needed for high-quality podcasting
- Learn how to choose the right microphone for your needs
- Discover the importance of using a pop filter in your setup
- Explore the different types of studio headphones available
- Get expert tips on upgrading your existing setup
Understanding Basic Podcast Equipment Requirements
To make a great podcast, you need to know the basic equipment. You must understand the key parts of a podcast setup.
Core Equipment Components
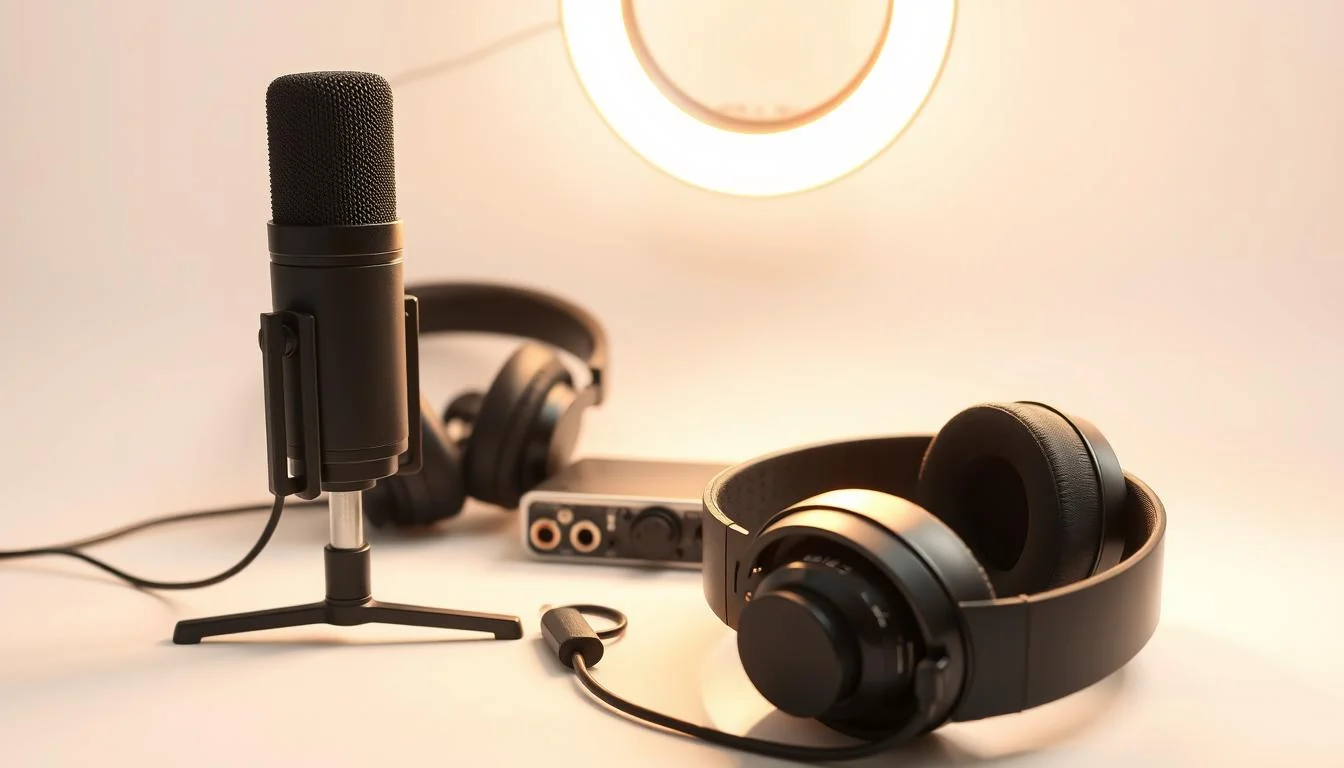
A good podcast needs a few key items. You’ll need a microphone, headphones, and an audio interface. The microphone is key for clear voice capture. Headphones let you listen to your audio and catch errors.
An audio interface connects your mic to your computer. It helps you record top-notch audio.
A microphone stand and shock mount are also important. They reduce vibrations and keep your mic right. A pop filter also helps, making your audio sound better.
Budget Considerations
When choosing podcast equipment, your budget matters. You don’t have to spend a lot to start. But, investing in quality equipment is worth it in the long run.
“Investing in good quality equipment will pay off in the long run.” – Podcasting Expert
Quality vs. Cost Balance
Finding the right balance between quality and cost is key. Cheap equipment might not sound good. But, very expensive gear might have too many features you don’t need.
It’s about finding the best quality for your budget. This way, you can create a professional-sounding podcast without breaking the bank.
| Equipment | Quality | Cost |
|---|---|---|
| Microphone | High | $200-$500 |
| Headphones | High | $100-$300 |
| Audio Interface | High | $100-$500 |
By knowing what you need and balancing your budget, you can create a great podcasting studio. This will help you make high-quality content.
Choosing the Right Microphone for Your Podcast
Choosing the right microphone is key to great podcast audio. There are many options, so it’s important to know the differences.
Podcasters often choose between USB microphones and XLR microphones. USB microphones plug right into your computer and are easy for beginners. XLR microphones need an audio interface but offer better sound quality.
When picking between USB and XLR, think about what you need and your budget. A USB microphone like the Apogee HypeMiC is great for beginners. For better sound, consider an XLR like the Shure MV7.
Also, check if your microphone works with other podcast accessories, like audio cables and shock mounts. The right accessories can make your recording better.
- Consider the type of microphone that suits your recording environment.
- Think about the level of sound quality you need for your podcast.
- Evaluate the compatibility of the microphone with your existing equipment and podcast accessories.
In conclusion, picking the right microphone is about more than just sound quality. It’s about finding the right fit for your needs and equipment. With the right choice, your podcast’s audio will shine.
Essential Microphone Accessories for Quality Recording
To get professional-sounding recordings, you need the right microphone accessories. These tools improve your audio quality and make recording easier.
After picking your microphone, think about the accessories you need. Pop filters, shock mounts, and microphone stands are key for quality recording.
Pop Filters and Their Importance
A pop filter reduces plosive sounds like “p” and “t” that can mess up your audio. It goes between your mouth and the mic, making your recordings clearer. For example, it keeps your podcast tone smooth and even.
Setting up a pop filter is easy. Just attach it to your stand and adjust it right. This simple step can greatly improve your recording quality.
Shock Mounts for Sound Isolation
A shock mount keeps your microphone away from vibrations and noise. It suspends the mic, reducing outside noises like bumps. This is great for podcasters in less-than-ideal spots.
Shock mounts work by keeping the mic separate from the stand. This cuts down on vibrations, giving you cleaner audio.
Microphone Stands and Boom Arms
A strong microphone stand and a flexible boom arm are vital for the right mic position. They let you adjust the mic for the best sound. Whether for podcasts or voiceovers, the right stand and boom arm matter a lot.
When picking a stand, look for height, stability, and adjustability. A good stand holds your mic securely and is easy to adjust.
Audio Interface and Mixing Equipment
Choosing the right audio interface is key for podcasters. It affects the sound quality of your recordings. An audio interface connects your microphone to your computer, capturing high-quality audio.
There are mainly USB and Thunderbolt interfaces. USB interfaces are easy to use and work with most computers. They’re good for beginners because they’re affordable and plug-and-play. Thunderbolt interfaces, however, have faster data transfer speeds. They’re best for professionals who need high-resolution audio and low latency.

Think about what you need when picking an audio interface. For beginners, the Focusrite Scarlett 2i2 is a great choice. It offers high-quality audio and is easy to use. For more complex setups, the Rodecaster Pro II is a top pick. It’s an all-in-one solution with features for podcasting.
Here’s a comparison of some popular audio interfaces:
| Model | Type | Price Range | Key Features |
|---|---|---|---|
| Focusrite Scarlett 2i2 | USB | $100-$200 | High-quality audio, easy to use |
| Rodecaster Pro II | USB | $500-$600 | All-in-one solution, advanced features for podcasting |
| PreSonus AudioBox iTwo | USB | $100-$200 | High-quality audio, compact design |
Shock mounts and audio cables are also important. A good shock mount reduces vibrations and noise. High-quality audio cables ensure your signal is clear.
Investing in the right audio interface and equipment can greatly improve your podcast’s sound quality.
Professional Podcast Equipment Setups for Different Budgets
Getting professional-sounding audio is possible, no matter your budget. The right podcast equipment makes all the difference. Key components include microphones, headphones, and audio interfaces.
We’ll look at three setups for different budgets. From entry-level to professional studio quality, there’s something for everyone.
Entry-Level Setup
Starting out or on a tight budget? An entry-level setup is a great start. You can get great audio for under $100. Here’s what you need:
- A basic USB microphone like the Blue Yeti or Rode NT-USB
- A simple pair of headphones such as the Sony MDR-7506
- A basic audio interface like the Focusrite Scarlett series
- A microphone stand for stable and optimal placement
This setup gives you a solid base for recording quality audio without spending a lot.
Mid-Range Configuration
Looking to upgrade? A mid-range setup offers better quality. It includes:
- A higher-end USB microphone like the Shure MV7 or Rode Procaster
- Professional-grade headphones like the Sennheiser HD 280 Pro
- A more advanced audio interface like the PreSonus AudioBox iTwo or Native Instruments Komplete Audio 1
- Podcast accessories like pop filters and shock mounts for better audio
This setup is perfect for those wanting better audio without a full studio.
Professional Studio Quality
For top-notch audio, go for a professional studio setup. It includes:
- High-end condenser microphones like the Neumann TLM 103 or AKG C414
- Top-of-the-line headphones such as the Sennheiser HD 800 S
- A professional-grade audio interface and mixer like the Antelope Audio Orion or the SSL Nucleus
- Advanced podcast accessories like high-quality cables, stands, and acoustic treatment
This setup is for professional recording studios. It offers the best audio fidelity.
Cable Management and Connectivity Solutions
A well-managed cable system is key to a reliable podcasting experience. We often focus on our microphones and headphones. But, cable management is just as important. It keeps your setup tidy, prevents signal loss, and protects your gear.
To set up your podcast space well, you need to know about audio cables and connectivity. Let’s dive into these options.
Types of Audio Cables
There are many types of audio cables, each with its own uses. Here are a few common ones:
- XLR Cables: These cables are durable and transmit high-quality signals. They’re great for connecting microphones to mixers and audio interfaces.
- USB Cables: USB cables connect devices directly to computers. They’re perfect for podcasters who record on their computer.
- TRRS Cables: TRRS cables are used for headphones and some microphones. They make connecting audio devices easy.
Choosing the right cable is important for clear signals and reliable connections. For example, a high-quality XLR cable can reduce signal loss and interference.
Wireless Options
Wireless options are also popular in podcasting. They offer more freedom and convenience. You can move around without being tied to your equipment.
Wireless systems have many benefits:
- Increased Mobility: They let you move freely during recordings. This is great for podcasts that involve movement or interviews.
- Reduced Clutter: Without cables, your recording space stays organized and clutter-free.
- Easy Setup: Many wireless systems are simple to set up. They’re easy to use, even for those who aren’t tech-savvy.
When picking wireless options, think about signal reliability, battery life, and compatibility with your gear.
Recording Software and Digital Tools
To make great podcasts, you need the right digital tools. This includes recording software that works well with your podcast accessories. Recording software is key for recording, editing, and producing your audio.
There are many types of recording software out there. You can find free, open-source options or professional-grade digital audio workstations. For example, Audacity is a free favorite among podcasters, with lots of features for audio recording and editing. Meanwhile, Adobe Audition is a top choice for pros, offering advanced tools for audio editing and mixing.
When picking recording software, think about a few things. Look for ease of use, make sure it works with your computer, and see if it has the features you need. Also, consider how it will work with your podcast accessories, like your microphone and shock mount.
Some top recording software for podcasting includes:
- Audacity (free)
- Adobe Audition (paid)
- GarageBand (for Mac)
- Logic Pro X (for Mac)
The best recording software for you will depend on your needs, budget, and skill level. By choosing the right digital tools, you can improve your podcast’s quality and make production easier.
Acoustic Treatment and Room Setup
The sound quality of your recording space is greatly affected by acoustic treatment. A well-treated room cuts down on echo and reverberation. This makes your recordings clearer and more professional.
Using sound panels and foam is a great way to improve your room’s acoustics. These materials absorb sound waves. This reduces reverberation and echo in the room.
Sound Absorption Materials
There are many types of sound panels and foam available. Some are made for specific frequencies, while others absorb a wide range of sounds.
| Material | Sound Absorption Capability | Cost |
|---|---|---|
| Acoustic Foam | High | Moderate |
| Sound Panels | Very High | Higher |
| DIY Solutions | Variable | Low |
As
“The right acoustic treatment can transform your recording space into a professional-sounding studio.”
, an expert notes. This shows how important it is to invest in good sound absorption materials.
Room Configuration Tips
Configuring your room correctly is also key. This means placing your microphone stand to reduce echo and reverberation. Also, using audio cables of high quality and well-managed can improve sound quality.
To optimize your room’s setup:
- Keep your recording equipment away from reflective surfaces.
- Use diffusers to scatter sound waves and reduce echo.
- Consider your room’s size and shape when placing equipment.
Portable Solutions
For podcasters who record on the move, portable acoustic treatment solutions are available. These include portable sound panels and vocal booths that are easy to set up and take down.
By focusing on acoustic treatment and room setup, you can greatly improve your podcast recordings. Whether at home or on the go, the right equipment and techniques make a big difference.
Conclusion: Building Your Perfect Podcast Setup
Building your podcast setup is all about quality. You need a good microphone, a pop filter to cut down on harsh sounds, and a shock mount to block vibrations. These are key for clear audio.
Trying new things is important. Experiment with different microphones and how you place them. Also, think about making your recording space sound better.
Investing in quality gear like a pop filter and shock mount is smart. And don’t be afraid to try new things. This way, you can make a podcast setup that works for you and keeps your listeners interested.